Automatic Shiny apps with Google Analytics data
Source:vignettes/model-templates.Rmd
model-templates.RmdOnce you have a ga_model() object, they can be used to generate interactive Shiny apps via the ga_model_shiny() function. This uses template Shiny application files and the know data, model and plotting functions within the ga_model() object to create Shiny apps.
Templates can be created that have many Shiny features pre-installed, and so can aid quicker startup and iteration of Shiny apps using Google Analytics data. Several example templates are included within the package.
Features include:
- Interactive OAuth2 authentication
- Styling and swapping themes quickly
- Supports any type of Shiny template, including HTML
- Advanced Shiny features such as caching from Shiny 1.6
- Output Shiny code to file for deployment elsewhere
- Support for GA4 and Universal Analytics account pickers
- Multiple models can be viewed in one Shiny app
For authentication, you will need to create a Web based Client ID JSON file (as opposed to the Desktop app JSON file for local use) at https://console.cloud.google.com/apis/credentials and add an Authorised redirect URI - for local testing http://localhost:1221 is helpful if you have set your Shiny apps to a static port via options(shiny.port = 1221). See the googleAuthR website for details.
Example Template Outputs
These are just demos, and the main point is that the templates can be configured to be anyway you like.
The Basic (default)
For quick iteration through models
model <- ga_model_example("decomp_ga.gamr")
ga_model_shiny(model, auth_dropdown = "universal")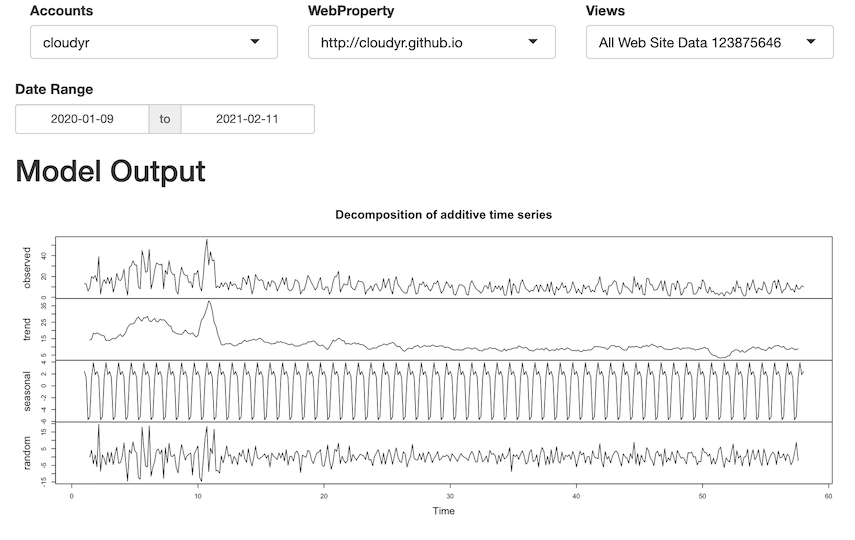
The basic
Gentelella
Using a custom theme from https://github.com/MarkEdmondson1234/gentelellaShiny and a ga_model() using CausalImpact and dygraphs
model <- ga_model_example("ga-effect.gamr")
ga_model_shiny(model, auth_dropdown = "universal",
               template = ga_model_shiny_template("gentelella"))
Using gentellela theme
argonDash
Mobile friendly Shiny themes from https://rinterface.github.io/argonDash/
model <- ga_model_example("ga-effect.gamr")

ga_model_shiny(
  model,
  title = "Argon Demo",
  auth_dropdown = "universal",
  template = ga_model_shiny_template("argonDash"))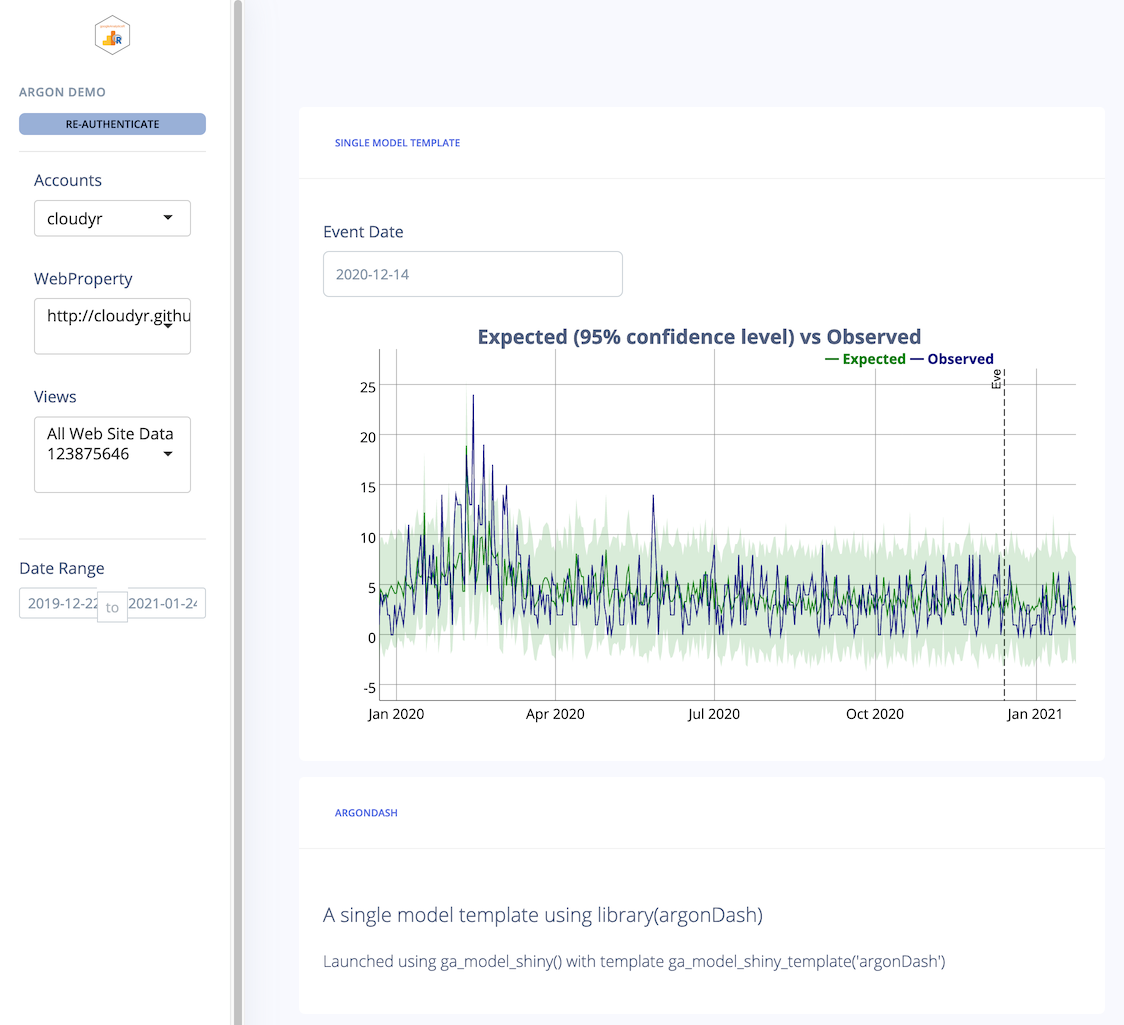
Using argonDash
Shinythemes
Using https://rstudio.github.io/shinythemes/
Themes can be configured to support multiple models
m3 <- ga_model_example("time-normalised.gamr")
m4 <- ga_model_example("ga-effect.gamr")

ga_model_shiny(list(m4, m3),
               auth_dropdown = "universal",
               template = ga_model_shiny_template("shinythemes"),
               theme = "cerulean")
Using shinythemes with theme=‘cerulean’
ga_model_shiny(list(m4, m3),
               auth_dropdown = "universal",
               template = ga_model_shiny_template("shinythemes"),
               theme = "yeti")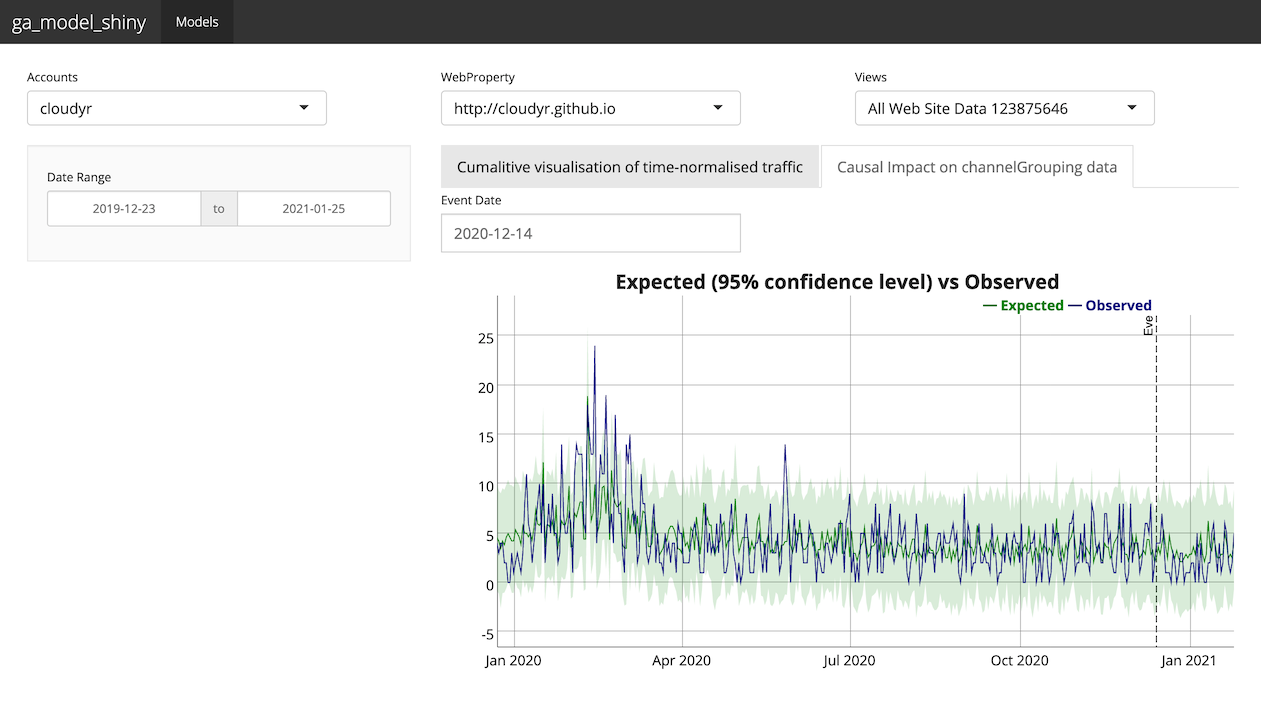
Using shinythemes with theme=‘yeti’
BS LIB
Custom bootstrap themes via https://rstudio.github.io/bslib/
m3 <- ga_model_example("time-normalised.gamr")
m4 <- ga_model_example("ga-effect.gamr")

ga_model_shiny(list(m4, m3), auth_dropdown = "universal",
               template = ga_model_shiny_template("basic_bslib"),
               bg = "white", fg = "red", primary = "grey")
Using bslib with custom bootstrap css
Shinydashboard
Using shinydashboard https://rstudio.github.io/shinydashboard/
ga_model_shiny(list(m4, m3), auth_dropdown = "universal",
               template = ga_model_shiny_template("shinydashboard"),
               skin = "blue")
Using shinydashboard
The templates
A list of currently available template folders you can base your own upon is here:
# current templates available in inst/models/shiny_templates
ga_model_shiny_template()
## [1] "argonDash/ui.R"
## [2] "basic_app/app.R"
## [3] "basic_bslib/ui.R"
## [4] "basic/ui.R"
## [5] "boilerplate/deploy.R"
## [6] "boilerplate/Dockerfile_app"
## [7] "boilerplate/Dockerfile_ui_server"
## [8] "boilerplate/header_boilerplate.R"
## [9] "boilerplate/server_app_boilerplate.R"
## [10] "boilerplate/server_boilerplate.R"
## [11] "gentelella/ui.R"
## [12] "html_based/template.html"
## [13] "html_based/ui.R"
## [14] "html_based/www/dummy.js"
## [15] "shinydashboard/ui.R"
## [16] "shinythemes/ui.R"To use, supply a model and a template to the ga_model_shiny() function:
# A Shiny app using "decomp_ga.gamr" model with the "shinythemes" template
ga_model_shiny(
  ga_model_example("decomp_ga.gamr"),
  auth_dropdown = "universal",
  template = ga_model_shiny_template("shinythemes"))
If a server.R file is not supplied, then it will take the default server.R from bootstrap files.
Creating templates
You can read existing template files using the read_lines=TRUE flag:
ga_model_shiny_template("basic/ui.R", read_lines = TRUE)## [1] "## basic ui.R"
## [2] "fluidPage(title = \"{{ shiny_title }}\","
## [3] " {{ auth_ui }},"
## [4] " {{{ date_range }}},"
## [5] " h2(\"Model Output\"),"
## [6] "{{{ model_ui }}}"
## [7] ")"You can also print out the entire app rather than launching it by supplying a folder to write out the Shiny code:
ga_model_shiny(
    ga_model_example("decomp_ga.gamr"),
    auth_dropdown = "universal",
    local_folder = "my_app")
Use this to help craft your own templates.
Template macro variables
Put these macros within the ui.R or server.R shiny files to import them when loading via ga_model_shiny()
{{{ model_libraries }}}- Adds library() calls based on models$required_packages{{{ web_json }}}- Adds Google OAuth2 client for web applications{{{ scopes }}}- Adds Google OAuth2 scopes for the API calls{{{ deployed_url }}}- Adds option(googleAuthR.redirect) option for deployed Shiny apps{{{ model_load }}}- Adds ga_model_load calls loading all models in the list passed to this function’s models argument. It creates R objects called ‘model1’, ‘model2’ etc. in the Shiny app code{{{ model_list }}}- Adds a list of the model objects after model_load. Useful for creating custom functions in themes that can loop over model objects{{{ shiny_title }}}- Adds the title to the Shiny app{{{ auth_ui }}}- Adds the correct dropdown Shiny module for picking a GA4 or Universal Analytics properties{{{ date_range }}}- Adds a shiny::dateInput() date selector with id “date_range” for use in model’s data fetching functions{{{ model_ui }}}- Adds the models UI elements as configured in the ga_model object. It uses the object loaded above via the model_load macro. It looks like model1$ui(‘model1’) in the code.{{{ auth_server }}}- Adds the authentication module’s server side function{{{ auth_accounts }}}- Adds a call to ga_account_list for the appropriate GA account type (GA4 or Universal){{{ model_server }}}- Adds the server side module for the models as configured in the ga_model configuration. It uses the object loaded above via the model_load macro. It looks like model1$server(‘model1’) in the code.{{{ model1 }}}- Alternative to model_load, this will load the model file location instead, which you can pass to ga_model_load() in the template. model1 is the first model passed, model2 the second, etc.{{{ your_argument }}}- You can pass in your own custom variables to the template via the … argument of this function if they are named the same as the template macro variable
Boilerplate files
There are some common shared code that is available in the boilerplate files.
- header_boilerplate.R - for loading the models and libraries in a UI
# ---start header_boilerplate.R
library(shiny)
library(googleAuthR)
library(googleAnalyticsR)
{{{ model_libraries }}}

gar_set_client(web_json = "{{ web_json }}",
               scopes = "{{ scopes }}")
options(googleAuthR.redirect = "{{ deployed_url }}")

# loads pre-existing models
{{{ model_load }}}
# ---end header_boilerplate.R- server_app_boilerplate.R - for a single app.R using a server for OAuth2
# ---start server_app_boilerplate.R
server <- function(input, output, session){

  token <- gar_shiny_auth(session)

  {{{ auth_accounts }}}

  # module for authentication
  view_id <- {{ auth_server }}

  # module to display model results
  {{{ model_server }}}

}

shinyApp(gar_shiny_ui(ui, login_ui = silent_auth), server)
# ---end server_app_boilerplate.R- server_boilerplate.R - for a Shiny app using multiple files (ui.R, server.R, etc.)
# ---start server_boilerplate.R
function(input, output, session){

  token <- gar_shiny_auth(session)

  {{{ auth_accounts }}}

  # module for authentication
  view_id <- {{ auth_server }}

  # module to display model results
  {{{ model_server }}}

}
# ---end server_boilerplate.R
Deploying Shiny apps
By default the Shiny app will run locally but you can also deploy them to Shiny hosting services such as shinyapps.io or a Shiny Server running on Cloud Run. googleCloudRunner includes functions for easier deployment of Shiny apps to Cloud Run.
For deployment, you will need:
- Ensure you have your web_json clientId file available
- Write the Shiny app to the local folder
- Deploy the app to see the final URL - copy-paste the URL.
- Re-created the Shiny app with
deployed_urlargument set to the URL from step 3 - Update your ClientId’s permitted redirect URL to the app URL from step 3
- Re-deploy the app
Deployment options
If deploying to shinyapps.io or a local RStudio Connect instance you can use the “Deploy” button within RStudio.
If deploying to another environment you may want a Dockerfile holding your Shiny app, which is added to the deployment folder.
To deploy to Cloud Run using googleCloudRunner the below code is an example:
library(googleAnalyticsR)

# create the Shiny app - first time without deployed_url, second time with
ga_model_shiny(
    ga_model_example("decomp_ga.gamr"),
    auth_dropdown = "universal",
    template = ga_model_shiny_template("basic_app"),
    deployed_url="https://cloudrun-test-ewjogewawq-ew.a.run.app",
    local_folder = "cloudrun_test")

# deploy the cloudrun_test folder that contains a Dockerfile
library(googleCloudRunner)

# run two times, first to generate the URL, the second to deploy the final app
cr_deploy_run("cloudrun_test/",
              remote = "cloudrun_test",
              tag = c("latest","$BUILD_ID"),
              max_instances = 1, # required for shiny
              concurrency = 80,
              launch_browser = FALSE)
An example Dockerfile may look like this:
# from rocker/shiny with googleAnalyticsR installed & configued for Cloud Run
FROM gcr.io/gcer-public/googleanalyticsr-shiny-cloudrun

# add any dependencies for your app here
# RUN install2.r --error -r 'http://cran.rstudio.com' googleAnalyticsR
# RUN installGithub.r MarkEdmondson1234/googleAnalyticsR

COPY . /srv/shiny-server/
Modify the Dockerfile to include any dependencies you may need for your app (e.g. dygraphs if using a dygraph enabled model)
Helper Docker file - googleanalytics-shiny-cloudrun
The gcr.io/gcer-public/googleanalyticsr-shiny-cloudrun image is one that installed googleAnalyticsR on top or rocker/shiny and configures Shiny for use within Cloud Run. See the Deploying Shiny to Cloud Run use case on the googleCloudRunner website for details.
The Dockerfile for that image is below:
FROM rocker/shiny

# install googleanalyticsr
RUN install2.r --error \
    -r 'http://cran.rstudio.com' \
    googleAnalyticsR \
    ## install Github packages
    && installGithub.r MarkEdmondson1234/googleAnalyticsR \
    ## clean up
    && rm -rf /tmp/downloaded_packages/ /tmp/*.rds

COPY app.R /srv/shiny-server/app.R
COPY app/ /srv/shiny-server/app/
COPY shiny-customised.config /etc/shiny-server/shiny-server.conf

EXPOSE 8080

USER shiny

# avoid s6 initialization
# see https://github.com/rocker-org/shiny/issues/79
CMD ["/usr/bin/shiny-server"]